
PODCAST 8.33 Trophy Elk Hunting tactics With Ryan Carter of DC Outfitters
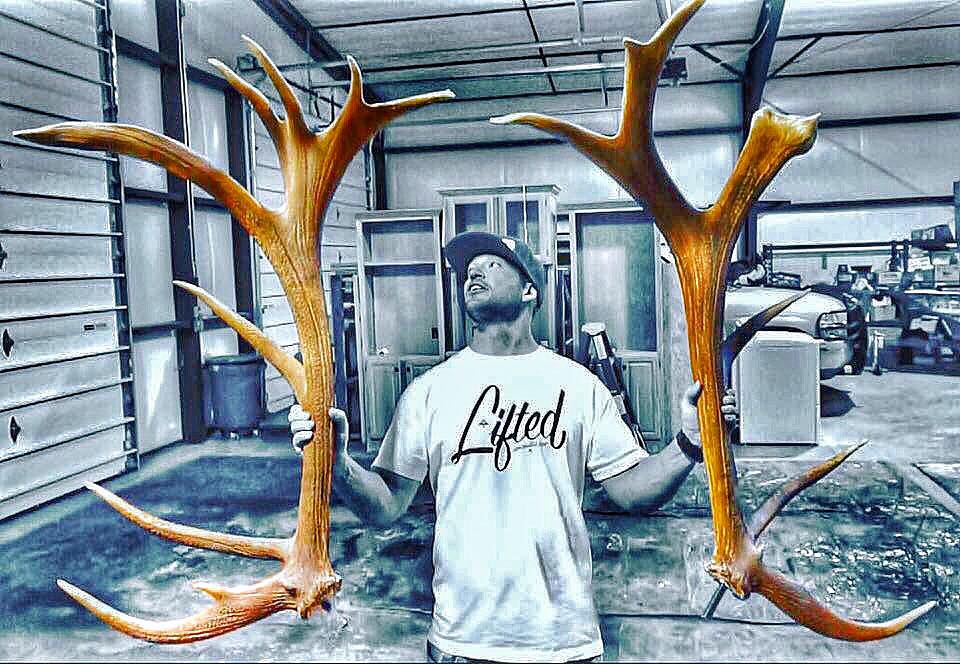
Ryan is a trophy bull hunter and runs a successful guide service known for taking giant public land bulls call DC Outfitters. Ryan is a father of 3 daughters and when he’s not hunting he’s picking up giant sheds.
We talk about what it takes to take trophy Bull Elk : Ryan talks about the habitat to look for, the terrain features and behavioral characteristics to key in on to consistently find and hunt Giant bulls.

*How to use trail cameras to your advantage for elk
*Where to glass
* Habitat and behavior of elk
* Patterning trophy bulls
* The Elk rotation pin pointing his route
Stepping Up Your Elk Game by Ryan Carter of DC Outfitters
Elk hunting is an experience that almost defines western hunting. Big, loud, and stinky it’s amazing that elk are so elusive and hard to pursuit. The biggest issue with any species out west is the vast areas that these animals call home. The terrain is steep, rugged, and unforgiving. Pulling an elk permit is definitely the hardest part of the process, but once that is accomplished the work begins. Now your have to face the mountain. Here is where you dig deep to find out where these bulls call home and outsmart them on their own turf. One of the greatest tools of the game is TRAILCAMS!
Trail cameras can be the perfect tools for locating big bulls, but they can also be time consuming and frustrating if you don’t use them right. Over the years I have found a few ways to help me dial in the trailcam game. I seem to do ok, so listen up so this can be a fun experience.
Cameras– purchasing your cameras is your first step. Like most of you that are reading this, I hunt public land. Public land is used by all, so remember that not all people are on your team, you unfortunately may loose a few cameras. Knowing this I never spend a fortune on expensive cameras. I try to keep my purchases under $100. I also only buy brands that I can purchase a security box for that camera. These boxes help keep honest people honest, keep bears from walking off with your cameras, and keep elk from chewing on or moving them. Trust me it happens.
With that in mind, some cameras do better than others. Obviously the more expensive cameras will be better at taking far away shots or the infra red will reach out a little bit further during the night when elk seem to move the most. I personally use Stealthcams. This is not a plug. I simply have found that they reach a little bit further for my night shots. There is nothing more frustrating that getting a photo of a possible monster just out of reach during the nighttime. They also have fair priced security boxes for ALL of their cameras. Not all brands are that accommodating. Really though, buy what you can afford. You are using them to cover a broad area that your can’t do yourself so just find a deal and see which ones work best for you.
Setup– Setting up your camera is crucial. There are a couple of things that I always do when setting a camera:
- Mount your camera facing north. The sun will ruin your photos if you face them east or west. You will likely get the sun shining in your lens during times when elk are moving the most. Also remember the sun runs on our southern hemisphere so I avoid that direction as well if at all possible.
- Clear all brush and limbs. Nothing worse than leaving a camera for a month to come back and find 3000 pictures of a branch swaying back and forth in the wind. I keep a machete in my pack at all times when mounting cameras. They work faster than a pack saw for clearing branches, can cut tall grass away that may cause movement, and can be used to help dig holes in the ground for bait.
- Don’t try to camouflage them with twigs or leaves. Half the time the branches fall over in front of the lens and the other half they attract bugs and small animals due to sap.
- Mount cameras about 36-40” off the ground and keep them 10-12 feet from the focus spot where the elk will be. Whether that focus spot be salt, water, wallow, feed, or simply a trail. If the camera is too close you risk only seeing half of the bull or worse the antlers.
Locations– Despite what most will tell you, elk aren’t that smart. They are just big stinkies with instincts that outrank our own. With that in mind, they need to eat, sleep, and procreate. So when looking for trailcam locations I look to accommodate those 3 things.
Feeding Areas: Bull elk have to eat like horses through the summer when they are packing on bone. I look for acorn patches located next to benches of dark timber. July and August elk run to acorns like a fat kid running to cake. Aspens are an area many guys run too. Aspens more often than not are a good area for cows and calves, but bulls find secluded meadows in high basins and cliffs. Those tiny meadows are great spots for cams, but can take years to locate. If baiting is allowed in your state I put out salt or a salt/molasses mix during the velvet growth period. As the velvet comes off bulls don’t seem as interested in salt and I switch to a food bait or sweet lick.
Bedding areas: are often found on benches with dark timber with short access to feed. I have benches that I have put cameras on for years and they produce some of my best photos. Benches are used for bedding and feeding so look for flat spots on steep, north-facing mountainsides. Another nice thing about benches is they are visible on topo maps and google earth. Get looking!
Wallows: here is a tricky spot. Elk wallow for two reasons: too keep cool and to get stinky! During the summer months, elk cruise through wallow areas but rarely climb inside. Their velvet horns work like a radiator to keep them cool so rolling isn’t as active during this time. Once the velvet peels off the rolling begins. All elk guys look for wallows. Some wallows get covered in cameras as heavy as the guzzlers on the strip. It’s not a bad thing, but remember to be respectful of other people’s cameras so that the favor is returned. To avoid the camera cluster, I like to look for pinch points or trails that access the wallows. Many times in the summer the bulls don’t touch the wallows (like I said), but they cruise through all the same, and more often that not get their picture taken walking into the wallow but not using it.
Calving areas: I can’t tell you how many times I hear frustrated elk hunters complain about how their cameras are getting hit by cows and calves and not BULLS. This is NOT a bad thing! Cows and calves aren’t as migratory as bulls. Bulls will summer in one place and rut 25 miles away. So if you are getting pictures of cows, DON’T pull your camera!! The bulls will get there. Just keep in mind that the bulls don’t start working into those areas until mid September. If your hunt is during an archery season that ends early you may want to move, but if your tag is just beginning around mid September stay there! The bulls will come to you.
Trail cameras can be a fun part of the elk hunting experience. I love the pre season scouting almost more than the hunt itself, so I look forward to setting cameras every year. Remember this though, I RARELY kill the bulls that I get on camera. Just because he is on film doesn’t mean he is a resident or even a killable bull. What cameras do for you is that they can give you a description of the age class available and give you a bar to set your standards to. Killing the bulls you have on camera can be icing on the cake though. Remember to aim small and don’t be afraid to work for it!!


Podcast: Play in new window | Download
Subscribe: RSS
Discover more from John Stallone Days in The Wild
Subscribe to get the latest posts sent to your email.